How To Make A Screen For Screen Printing
Embarking on the journey of screen printing can feel overwhelming with the myriad of choices and detailed processes involved. From selecting the right mesh and frame to understanding the nuances of emulsions and exposures, the initial steps may seem daunting.
However, Chromaline is here to streamline the screen making process and help simplify the entire process for beginners. Our comprehensive range of screen making products is designed to demystify the setup and ensure that even beginners can achieve professional results. Let's dive into how Chromaline can help you master each critical step, making screen printing accessible and enjoyable.
WATCH VIDEO: How To Make A Screen For Screen Printing
Screen Printing For Beginners: How To Make A Screen
Whether you're looking to create custom apparel, posters, or artwork, the screen printing process starts with the meticulous preparation of your screen. Here's a detailed guide for beginners on how to prepare your screen for screen printing.
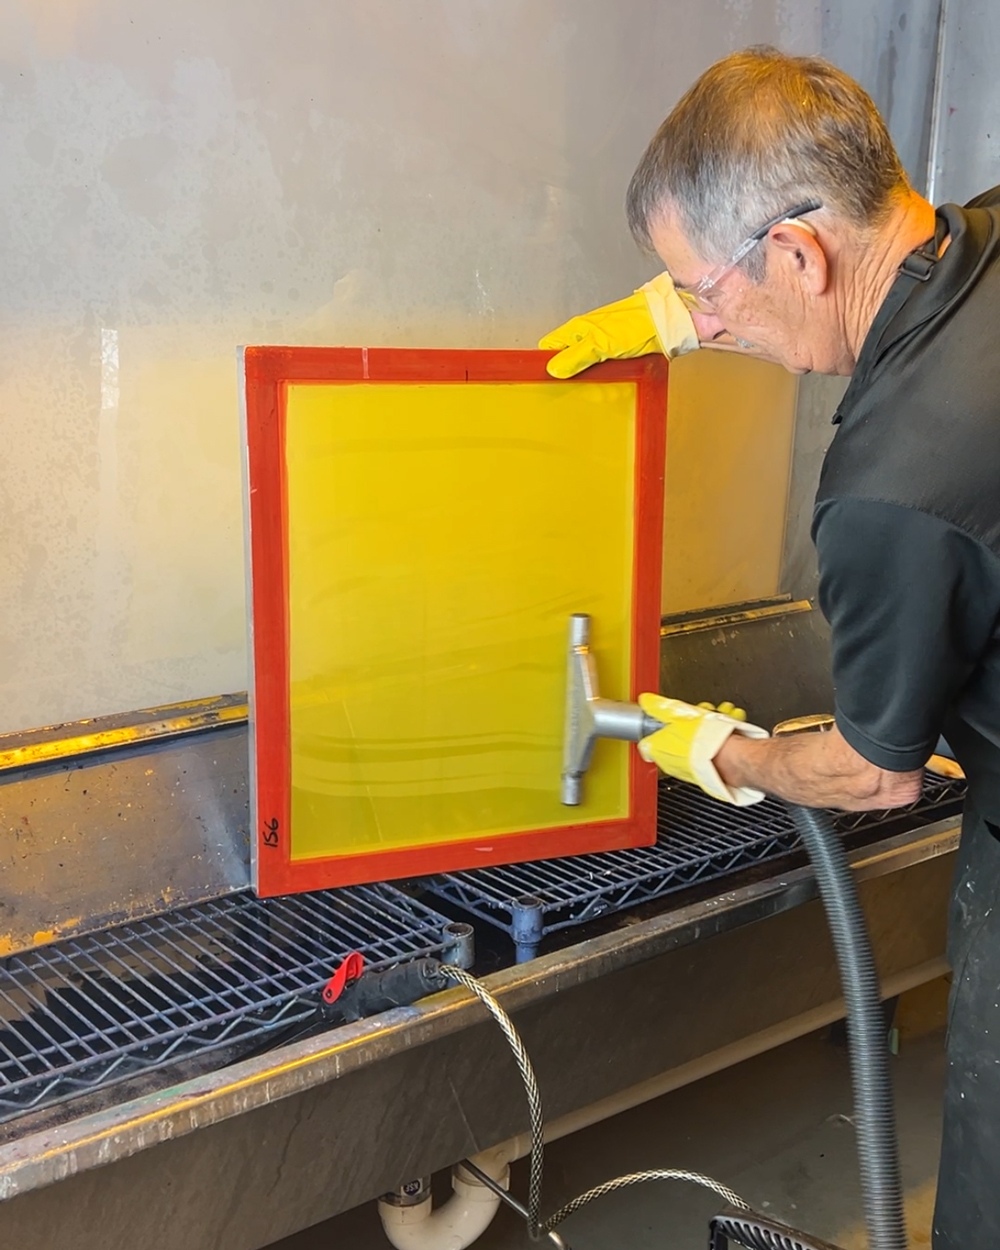
1. Reclaim Your Screen
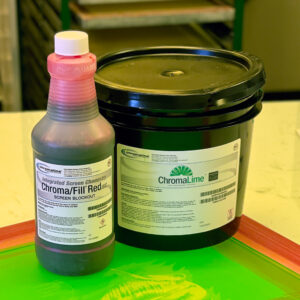
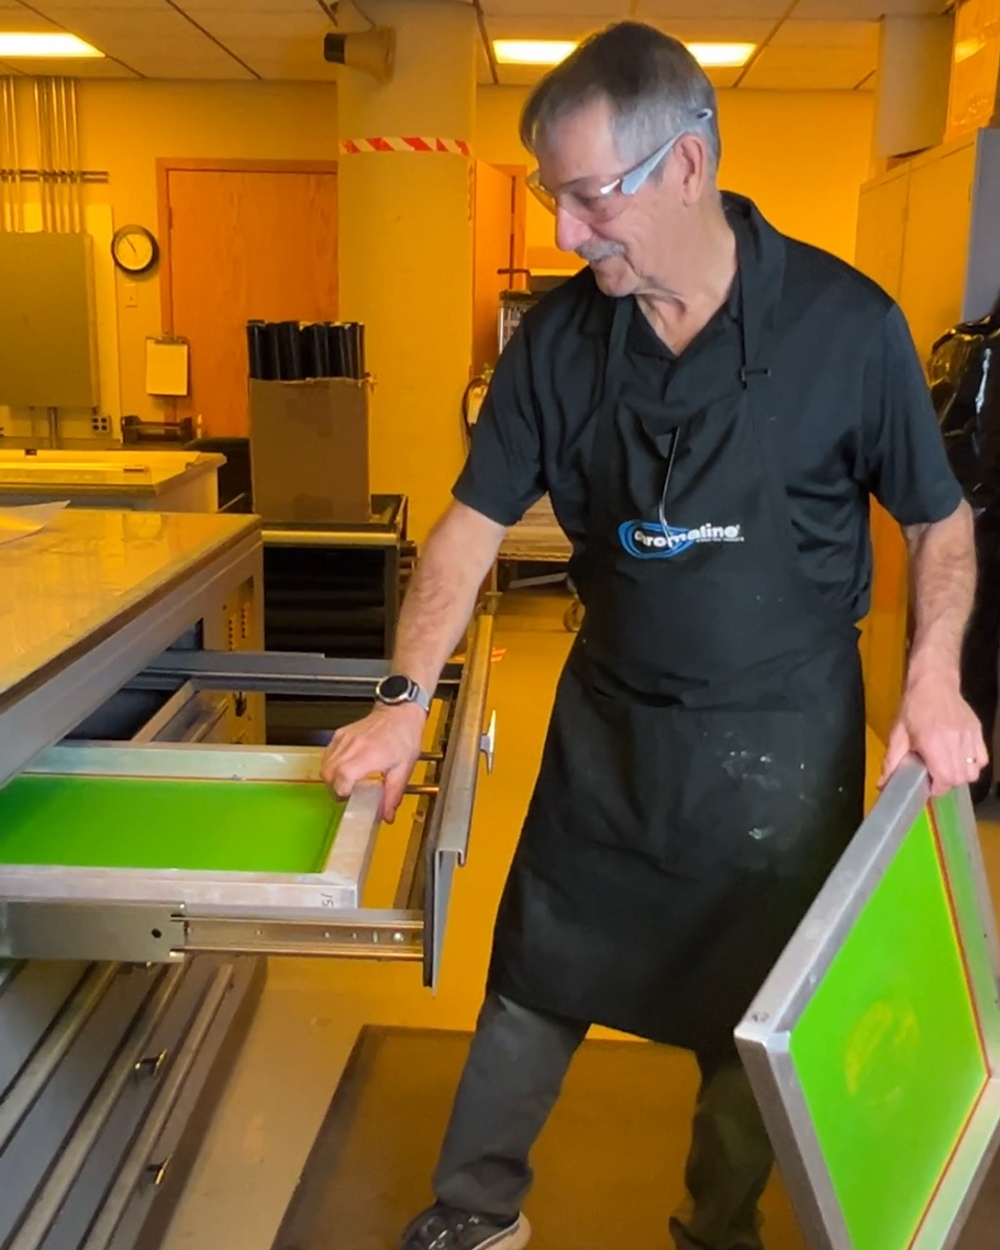
The first step in preparing your screen for a new project is reclaiming it, which involves removing any old ink and emulsion residues. Start by applying a reclaimer, such as Chroma/Strip iSC, generously on both sides of your screen. You can let it sit for about 30 seconds but it is crucial that you never allow it to dry, as dried reclaimer can permanently damage the screen. After the brief waiting period, scrub gently with a soft nylon brush and rinse it off using a high-pressure washer, starting from the bottom and working your way up. If stains remain you can use Ghost Buster iSC to remove additional haze. Remember, meticulous cleaning at this stage sets the foundation for a successful print.
WATCH VIDEO: 4 Steps To A Clean Screen
WATCH VIDEO: Upgrade Your Reclaim with CompactLine Auto Reclaim
2. Degrease Your Screen
After reclaiming, the next step is to ensure that your screen is completely free of oils and other residues by degreasing it. Apply a degreaser, such as Chroma/Wet iSC, evenly across the screen and use a brush to work the degreaser into the mesh. Rinse thoroughly, as any residual degreaser can interfere with the emulsion’s adhesion. This process guarantees a pristine surface that will more effectively hold the emulsion. You may be tempted to skip the degreaser, but this step helps to ensure proper adhesion of your emulsion to the mesh.
WATCH VIDEO: Degrease Your Screen For Beginners
3. Dry Your Screen
Once your screen is clean and degreased, you want to make sure it is completely dry before coating it with emulsion. You can speed up the dry time using a tool like the MagiVac Nozzle. This specialized vacuum removes water from the screen, accelerating the drying process. Then put the screen in a drying cabinet or clean area until it is completely dry. Make sure not to touch the screen with your bare hands after this step, as oils from your skin can contaminate the clean surface.
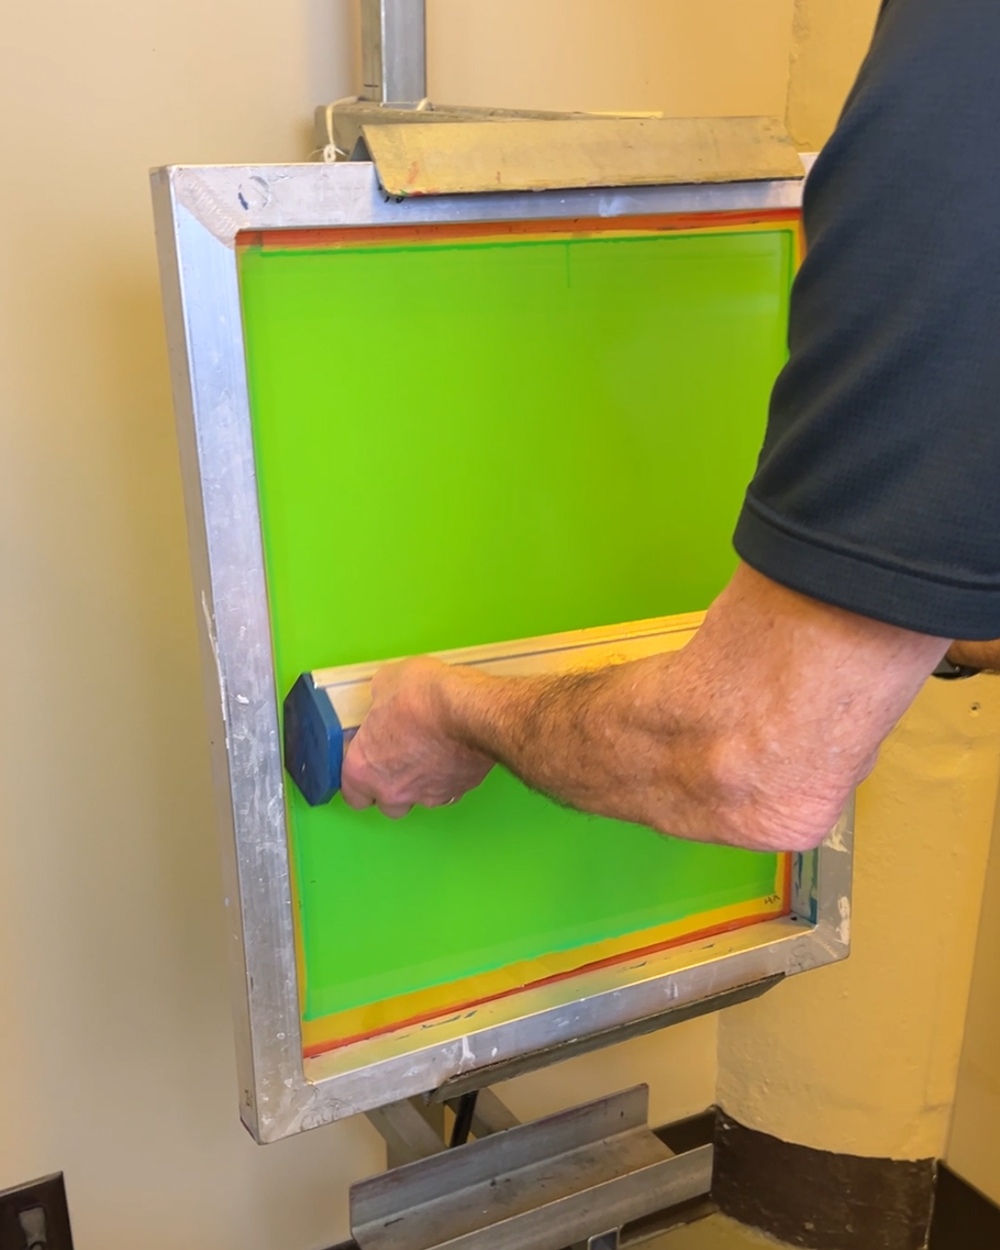
4. Coat Your Screen With Emulsion
For coating, use a high-quality Chromaline emulsion and a MagiCote Scoop Coater. Stir the emulsion gently to ensure it’s smooth and lump-free. Pour it into the scoop coater and apply a thin, even layer over the mesh. Start from the bottom and use the dull edge of the coater to spread the emulsion evenly, ensuring to finish on the squeegee side to avoid drips. This even coating is critical as it determines how well your design will transfer during printing. For more tips on coating screens, check out our blog post, Tips For Coating Screens with MagiCote Scoop Coaters.
WATCH VIDEO: 5 Common Mistakes When Making Screens
5. Dry The Coated Screen
Place your freshly coated screen in a drying cabinet. You always want to dry the coated screen horizontally with the squeegee side up (print side down) to allow gravity to help distribute the emulsion evenly across the screen. Drying can take about 30 to 60 minutes depending on the humidity and the drying equipment. It’s important that the screen is completely dry before you proceed to the next step.
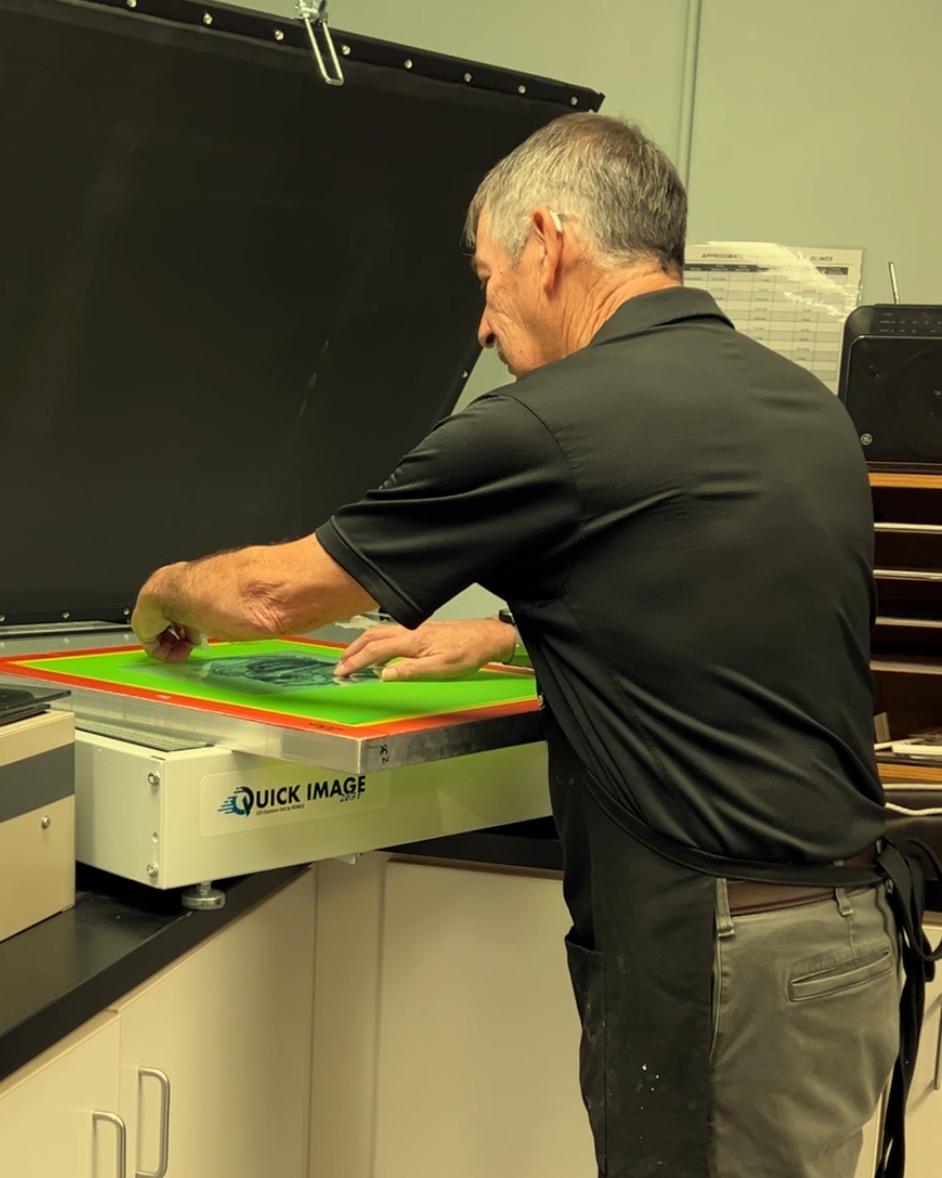
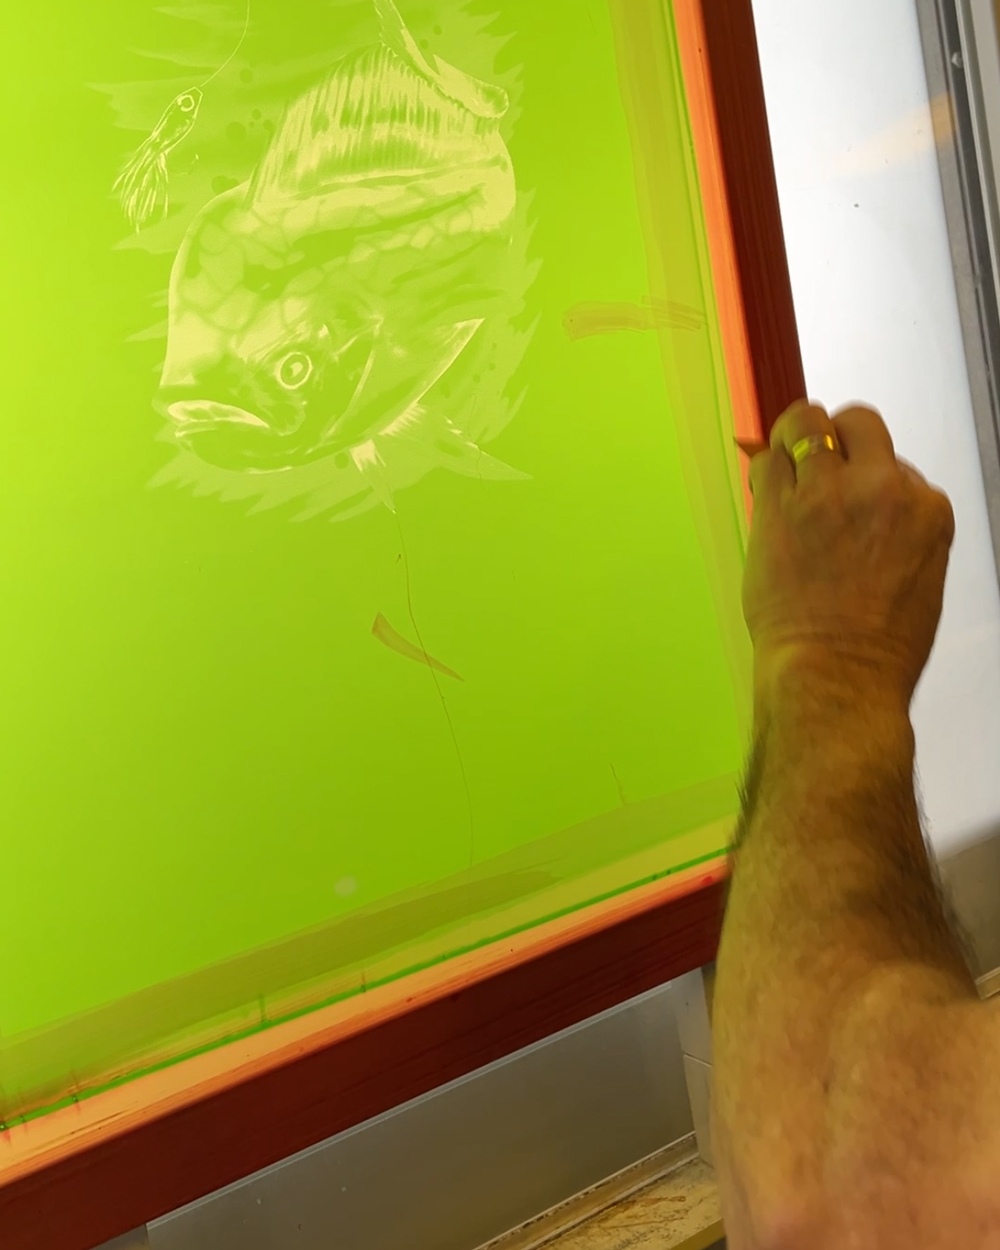
6. Expose Your Screen
Exposure is what develops your design onto the screen. Print your artwork onto a transparency and then expose it using an exposure unit like our Quick Image LED tabletop exposure unit. Ensure that the screen and the transparency make good contact and that the unit provides an even exposure. After the set exposure time, your design should be imprinted on the screen. Your exposure is determined by a variety of factors, including mesh count, emulsion type/brand, exposure unit being used and shop conditions. For more details about exposure, check out our Exposure 101 page. If you want to skip printing your artwork, opt for one of our laser-to-screen (LTS) exposure units.
WATCH VIDEO: Choosing An Exposure Light for Screen Making
WATCH VIDEO: How To Dial In Your Exposure
WATCH VIDEO: Quick Image Exposure Unit Features
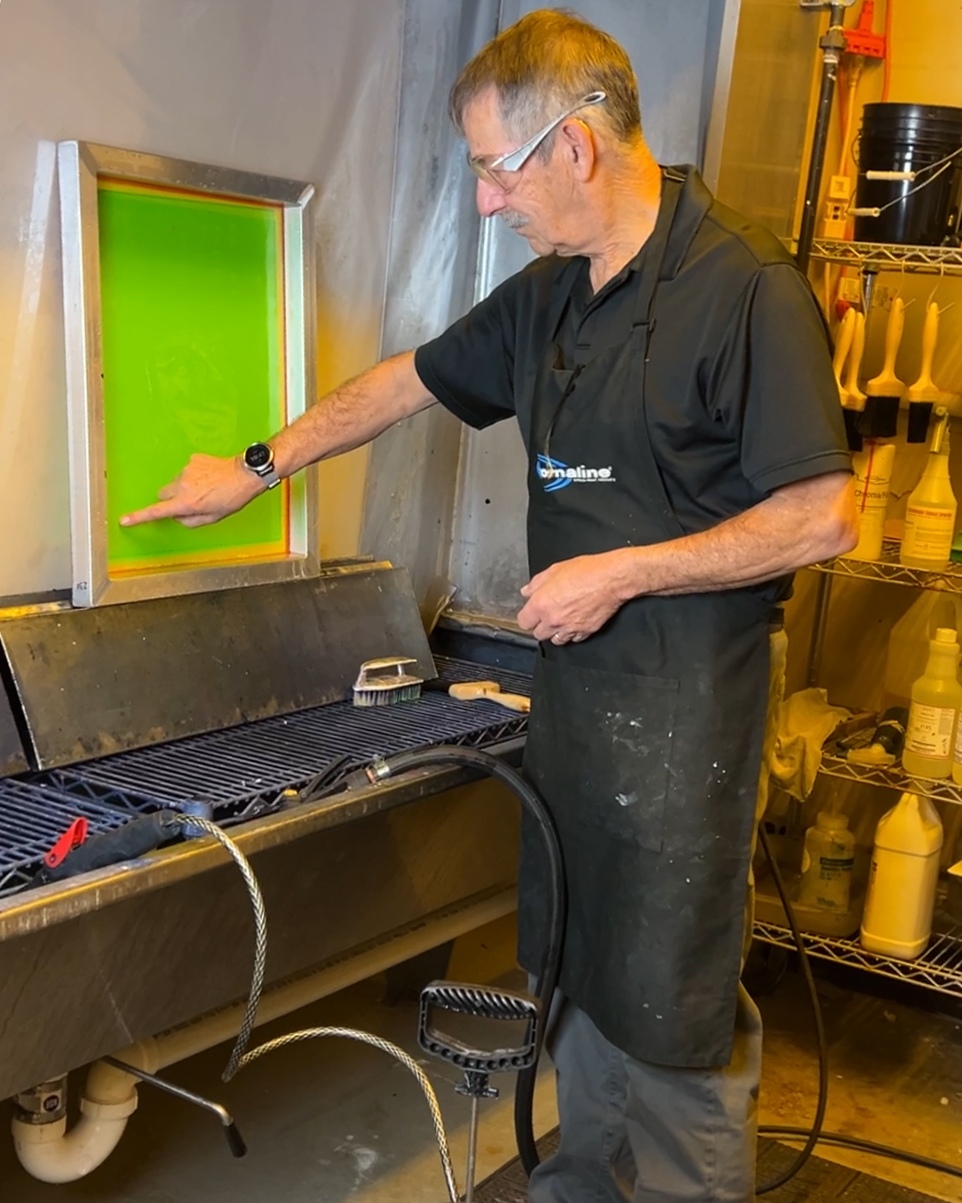
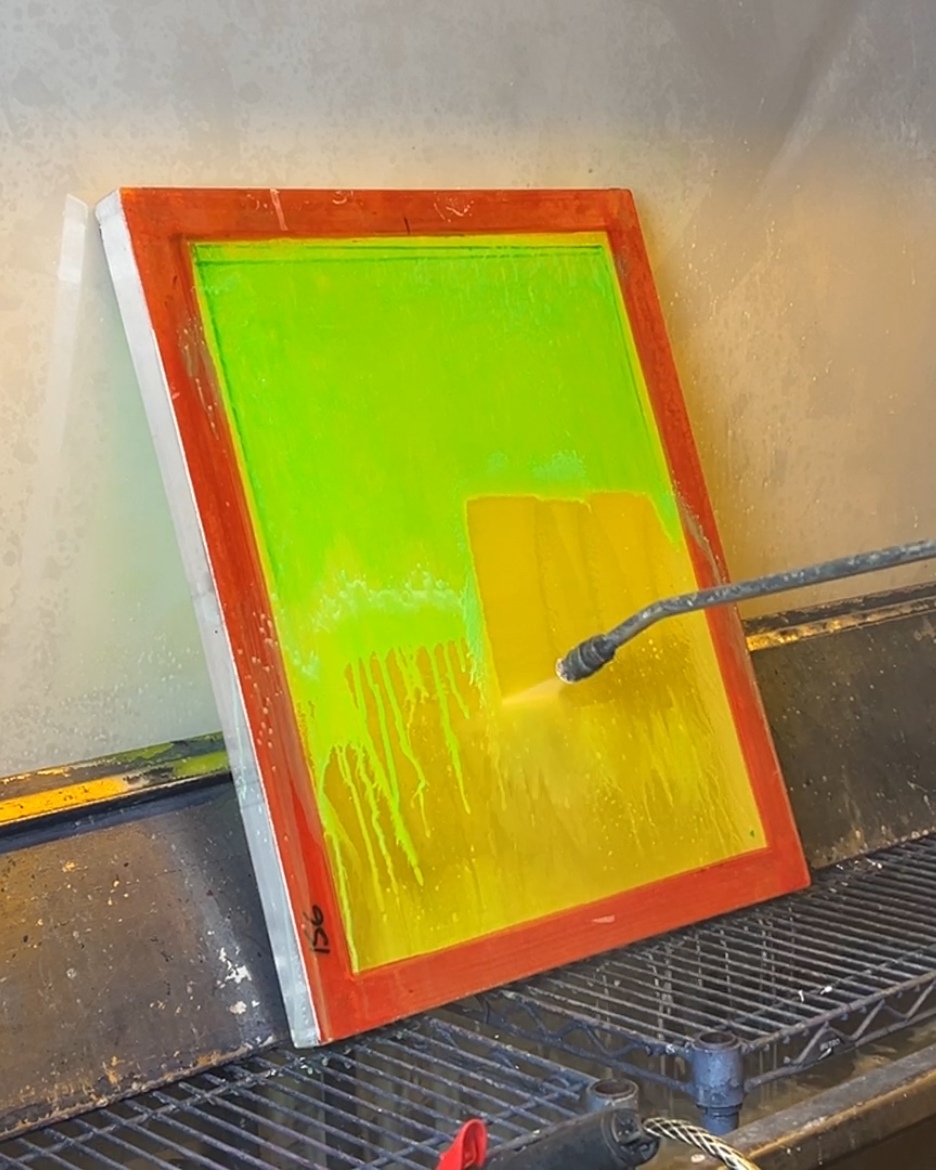
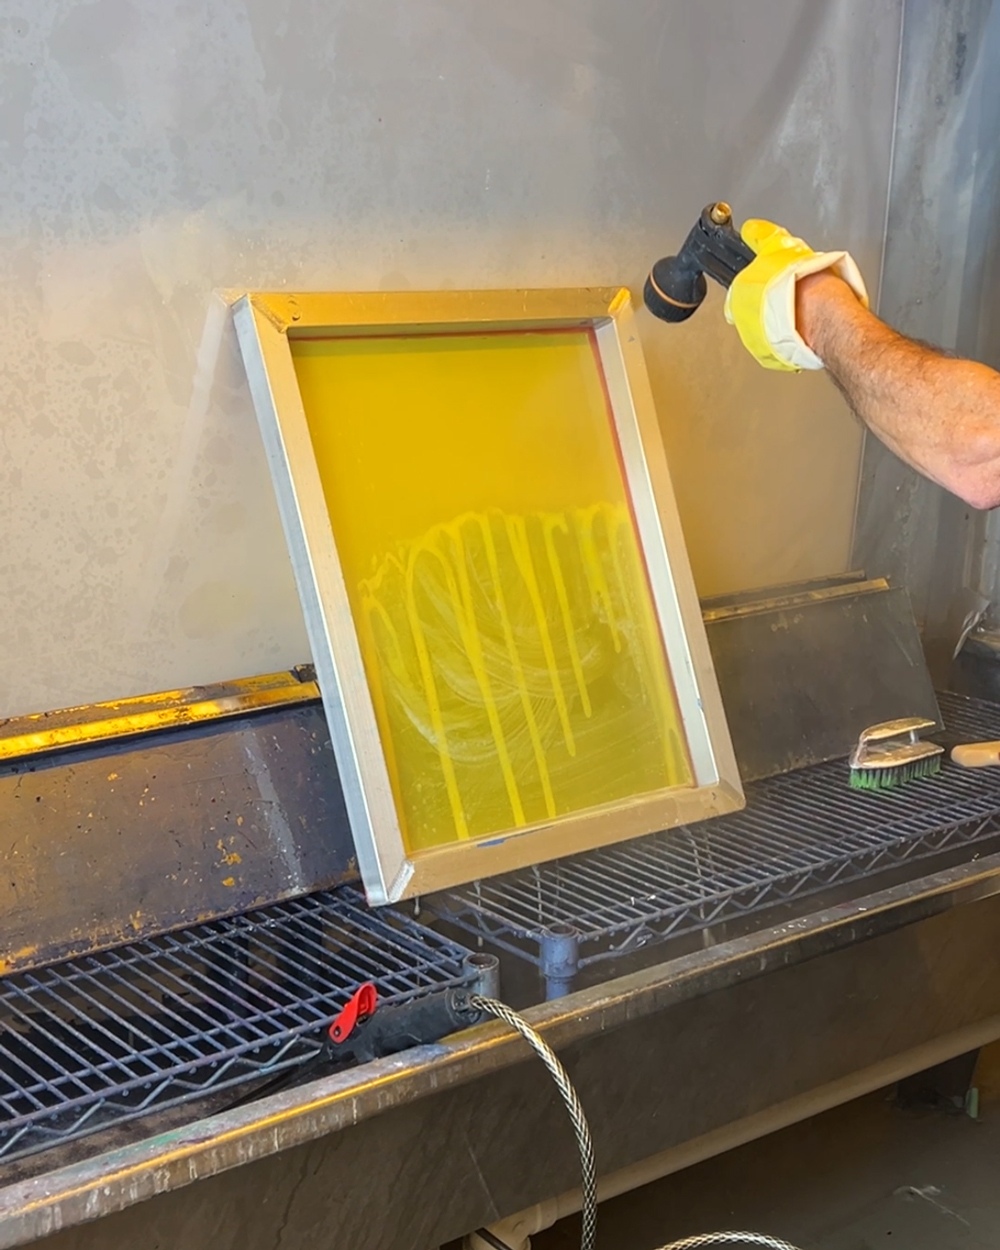
7. Washout Your Screen
Now, gently wash out the unexposed emulsion under a light spray. If you use a fan spray, it provides better control and avoids damaging the design. After rinsing, inspect the screen for any unexposed areas that didn’t wash out and look for details to ensure clarity and sharpness.
WATCH VIDEO: Is My Screen Underexposed?
8. Dry Your Finished Screen
Dry your screen thoroughly after washout. This step is crucial to prepare the screen for printing. A drying cabinet is perfect for this purpose, as it provides a dust-free environment.
WATCH VIDEO: Quick Mick Tip for Drying Your Screen
9. Block Edges & Pinholes (if needed)
Inspect your screen closely for pinholes, which can ruin a print if not filled. If you are using plastisol or UV inks, use a small amount of blockout solution like Chroma/Fill iSC to cover any pinholes, ensuring the screen is flawless before you proceed to the printing press. If you are using waterbased inks, you can use your emulsion to cover pinholes. Just make sure to re-expose your screen after the emulsion dries.
WATCH VIDEO: How To Use Blockout for Screen Making
WATCH VIDEO: Top 3 Causes of Pinholes