Causes of Pinholes During Screen Making and How To Fix
Screen printing is a versatile and popular method for transferring intricate designs onto various surfaces. However, one common challenge that printers often encounter is the occurrence of pinholes in their screens. Pinholes are tiny imperfections that can disrupt the printing process and they are a persistent concern for screen printers.
In this blog post, we will delve into the most common causes of pinholes and provide valuable tips on how to avoid them.
WATCH VIDEO: Top 3 Causes of Pinholes
Three Most Common Causes of Pinholes during Screen Making
Screen printing enthusiasts understand the frustration that pinholes can bring to the process. Here are the three most common causes of pinholes that we see and practical solutions for each issue.
1. Dirty Exposure Unit:
The exposure unit, a crucial element in screen making, can surprisingly be a source of pinholes if not kept clean. Fine details in your design require a pristine environment. To tackle this issue:
- Keep it Clean: Regularly clean your exposure unit, particularly the glass surface. Use a good glass cleaner and, if necessary, a new razor blade to remove excess emulsion, ensuring UV light passes through uniformly.
2. Dirty Screen:
Pinholes often result from inadequate screen cleaning. Residual ink, emulsion, or contaminants on the screen like hand lotion, dust or screen chemicals can obstruct the mesh, leading to the formation of pinholes. Maintaining a clean screen is essential for quality prints. Here's what you can do:
- Degrease Effectively: Use a reliable degreaser like Chroma/Wet iSC to clean the screen thoroughly. This crucial step cleans the screen and promotes adhesion of emulsion to the mesh, preventing pinholes. A clean screen ensures a smooth application of emulsion.
- Visual Inspection: Check for uniform water distribution after degreasing. A clean screen will exhibit even water distribution, while a dirty one will repel water in areas with contaminants.
3. Dirty Artwork:
Often overlooked, dirty artwork can introduce pinholes during the screen exposure process. It's essential to inspect and clean your artwork to avoid unexpected issues. Follow these steps:
- Close Inspection: Examine your artwork closely to ensure it is free from imperfections. Even small spots can result in pinholes during exposure.
- Tactile Examination: Run your fingers over the artwork to detect any irregularities. If you can feel a spot, it's not part of the positive and may cause pinholes.
- Preventive Measures: Clean up any imperfections in the artwork before exposing the screen.
Other Less Common Causes of Pinholes On Your Screen
Effectively addressing pinholes in screen printing requires a combination of proper screen preparation, maintenance, and attention to detail throughout the printing process. Here a few less common issues that can cause pinholes.
- Inadequate Emulsion Coating: Uneven or insufficient emulsion coating can contribute to pinholes. Ensure that the emulsion is evenly applied on both sides of the screen, and follow the manufacturer's guidelines for coating thickness. A double coat may be necessary for high-quality results.
- Mesh Tension Issues: Improper mesh tension can cause sagging, leading to uneven contact with the substrate during printing. Maintain consistent and adequate tension in the mesh, and regularly check and adjust tension as needed. Use a tension meter for accuracy.
- Emulsion Exposure Problems: Incorrect exposure times or uneven light distribution during the emulsion exposure process can result in pinholes. Follow the recommended exposure times for your emulsion type, and ensure that your exposure unit is functioning correctly.
- Mesh Degradation: Over time, the mesh can wear out or become damaged, leading to pinholes. Regularly inspect your screens for signs of wear, and replace damaged mesh promptly to maintain print quality.
- Inadequate Drying: Screens that are not thoroughly dried before exposure may lead to pinholes. Allow screens to dry completely in a dust-free environment to prevent contaminants from affecting the emulsion.
- Improper Handling: Mishandling screens can introduce dust, debris, or damage that can result in pinholes. Handle screens with care, and store them in a clean and controlled environment when not in use.
- Stencil Reclamation Issues: During stencil reclamation, aggressive cleaning methods or improper use of chemicals can damage the mesh or emulsion, contributing to pinholes. Use appropriate stencil removers and follow recommended procedures for reclaiming screens.
When In Doubt, Block It Out - Using Blockout for Pinholes
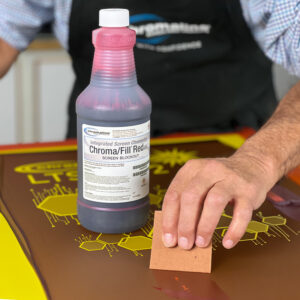
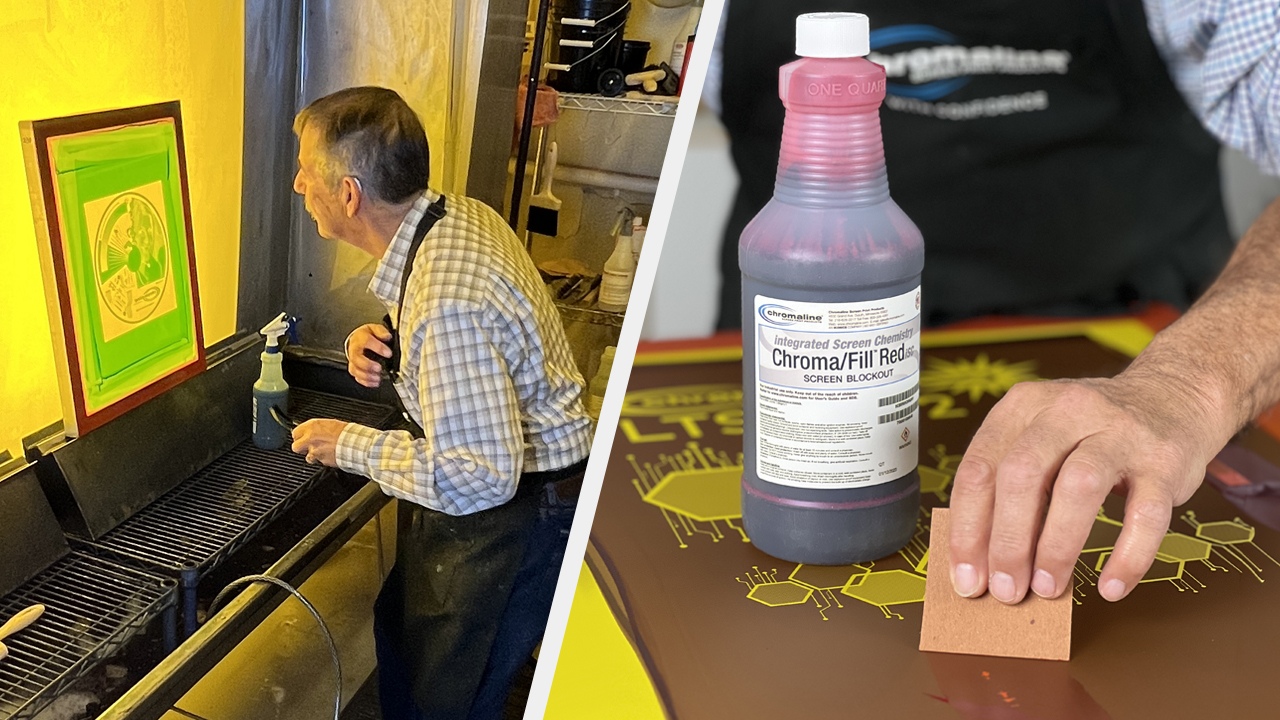
If you have followed all these tips and you are still seeing pinholes on your screen, investing in a high-quality blockout like Chromaline's Chroma/Fill iSC can make a significant difference. Chroma/Fill is known for its effectiveness in addressing pinholes and providing a reliable solution for screen printers. Chroma/Fill is designed to target and fill even the tiniest pinholes on your screen. Its formulation ensures thorough coverage and consistent results.
NOTE: Chroma/Fill blockout will not work with water-based inks. For water-based inks we recommend filling you pinholes with the same emulsion you coated your screens with.
Contact Chromaline Today
Maintaining a clean shop, using proper exposure techniques, and ensuring pristine screens and artwork are vital steps to prevent pinholes. A combination of attention to detail, effective cleaning methods, and quality materials will contribute to a smoother screen printing process, saving time and ensuring consistent, high-quality results.
Chromaline's line of premium screen printing emulsions and products stands out as the top choice for screen printers seeking exceptional results. If you have any further questions about how to avoid pinholes or questions about any of our Chromaline screen printing products, please contact us today.