4 Steps To A Clean Screen for Screen Printing

Screen printing demands precision at every step, especially when it comes to the preparation and maintenance of your screens. A clean screen is fundamental for achieving high-quality prints and will lead to less headaches on press.
In this blog post we will take you through the screen cleaning process step-by-step, ensuring your screens are in top condition for your next screen printing project. You can also click the link below to watch the full video tutorial.
WATCH VIDEO: 4 Steps To A Clean Screen with Chromaline's Integrated Screen Chemistry
Mastering the Art of Clean Screens for Screen Printing
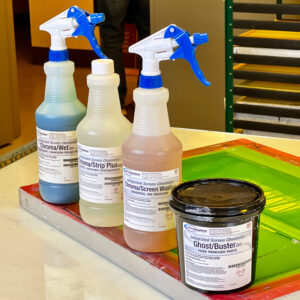
Cleaning your screen may seem like a mundane task, but it's a critical step in the screen printing process. We recommend the Integrated Screen Chemistry (iSC) line of screen printing chemicals to make your life easier. By following these four steps, you can ensure that your screens are perfectly prepped for creating stunning prints.
Step 1. Remove The Ink
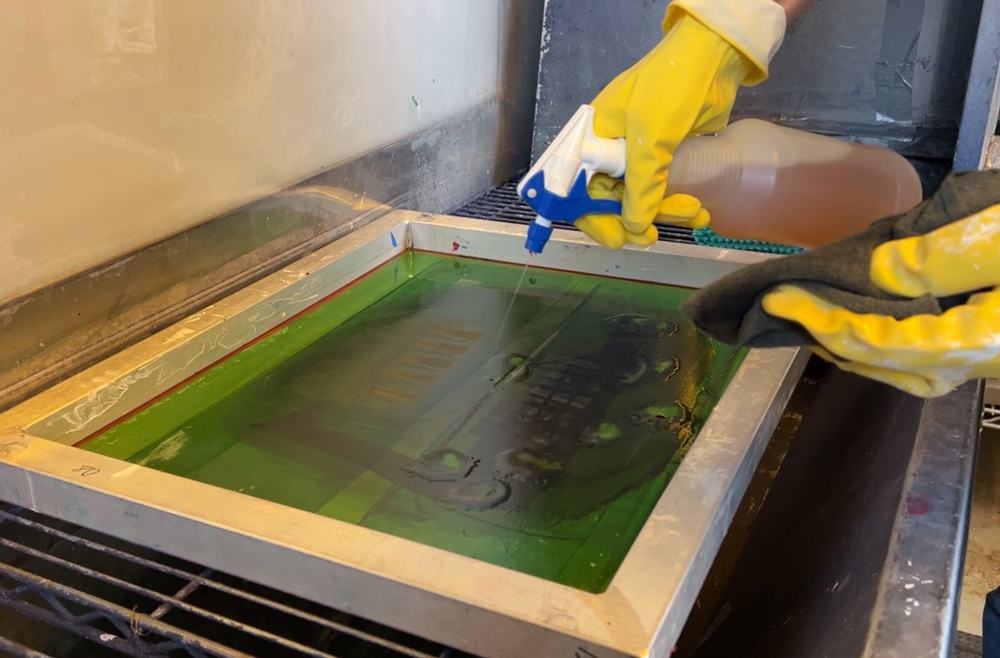
Start by applying Chroma/Screen Wash iSC to break down the ink. This product is specially formulated to tackle the stubborn screen printing inks without damaging the screen mesh. Make sure to wear protective gear like gloves and safety glasses before applying the screen wash generously on both sides of the screen to ensure all ink is dissolved.
It's essential to focus on thorough ink removal as any leftover ink can interfere with subsequent cleaning steps, leading to poor screen quality. Pay extra attention to the edges and corners of the screen where ink often accumulates. A soft-bristled brush or rag can be used to gently scrub these areas, ensuring all ink residues are loosened. Once you're satisfied with the ink removal, rinse the screen with water to wash away the dissolved ink and screen wash.
Step 2. Reclaim The Screen by Removing The Stencil
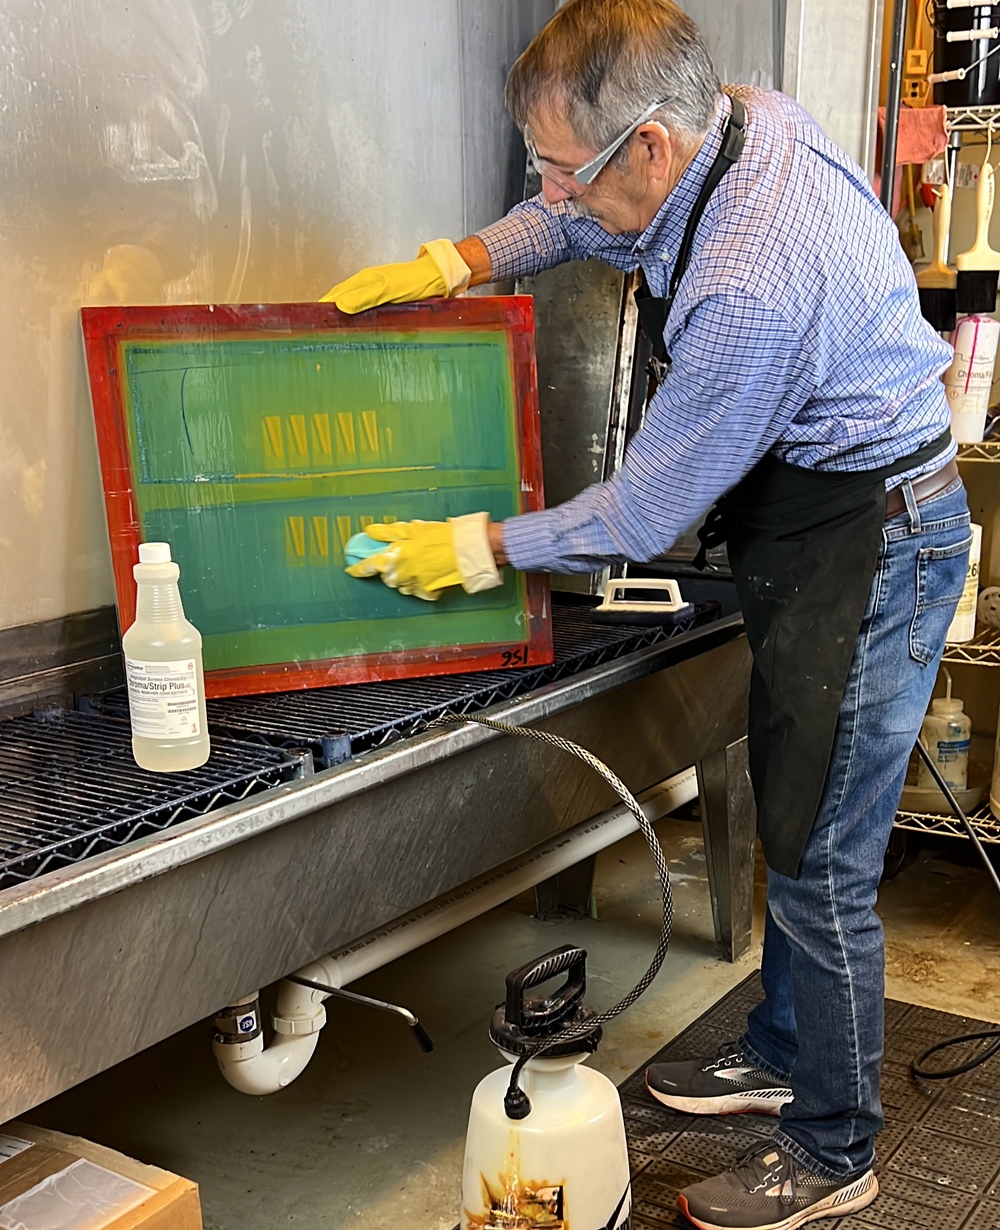
Use Chroma/Strip iSC to remove the stencil from the screen. This step is crucial for resetting your screen for future use. Apply the stencil remover on both sides of the screen, making sure not to let it dry on the screen. If stencil remover dries on your screen it can set the emulsion permanently, making it incredibly difficult to remove and most likely ruining your screen.
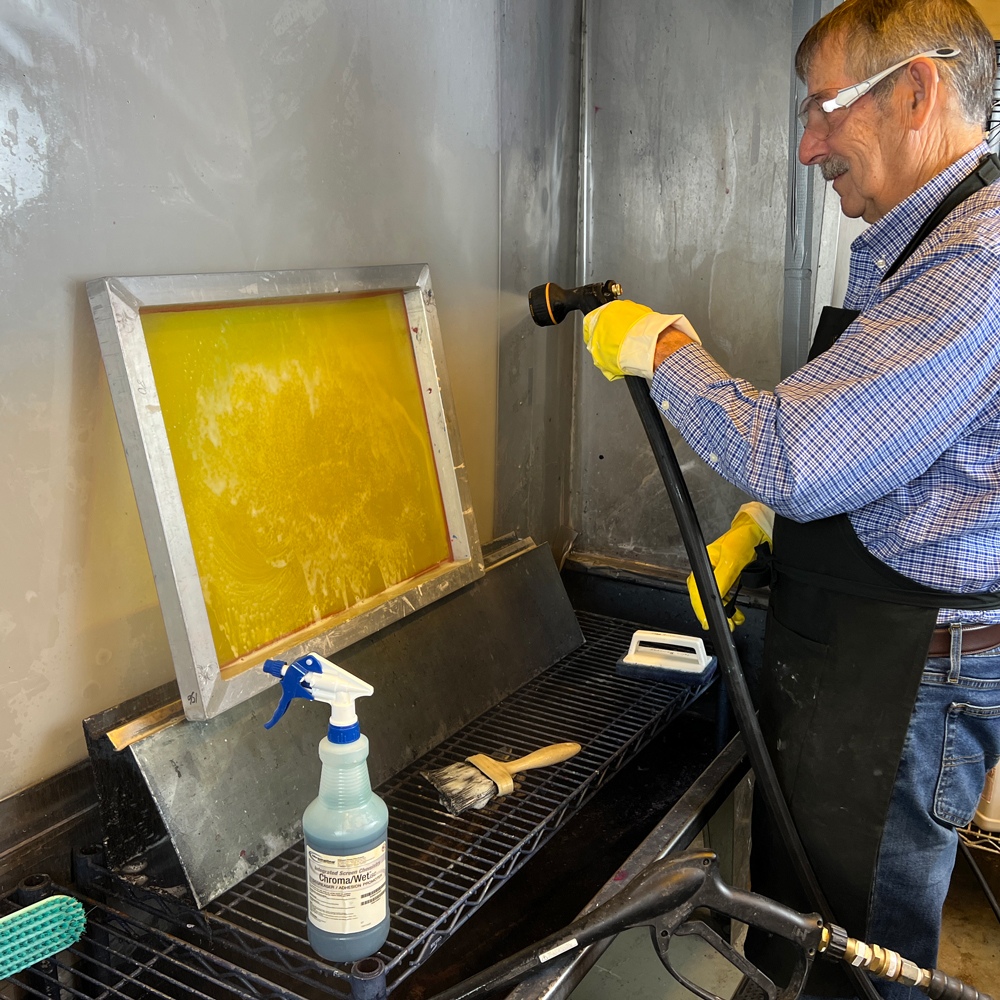
When applying the stencil remover, ensure an even coating over the entire screen. This consistency is key to an effective and uniform removal of the stencil. Let the stencil remover sit for a few minutes to help the emulsion start to break down. After the emulsion has sufficiently broken down, use a high-pressure water spray to rinse off the stencil remover and the emulsion. This high-pressure rinse will help to remove all remnants of the emulsion, leaving a clean mesh.
Step 3: Remove Haze and Stains (if necessary)
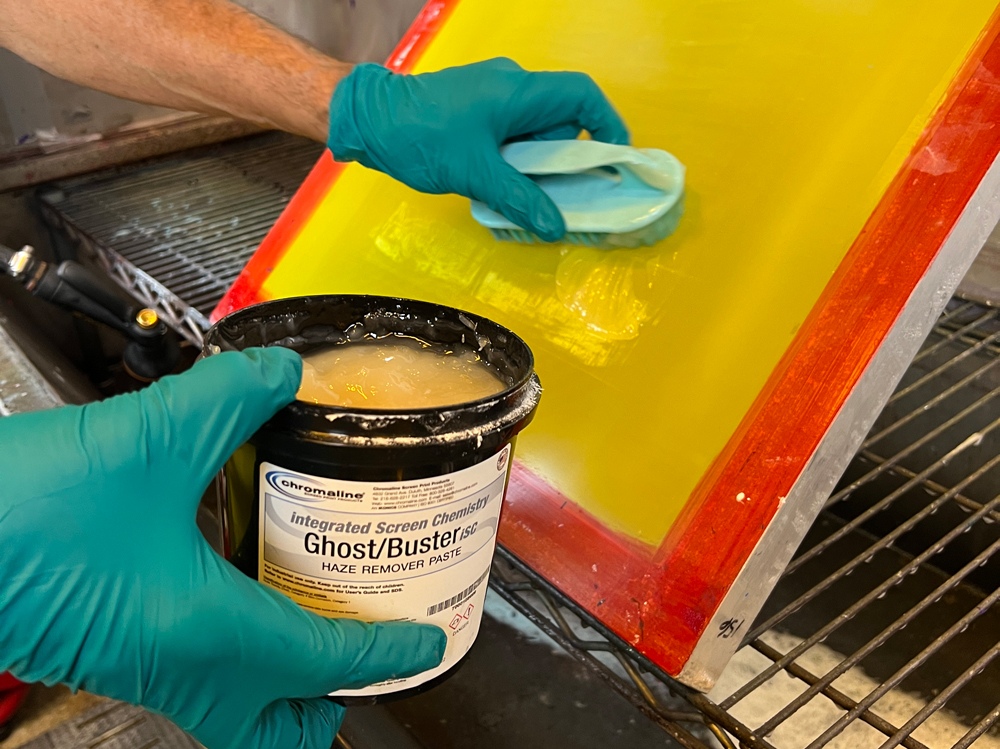
If there are any stains on your mesh after removing the stencil you can use Ghost/Buster iSC to remove the residual haze. Apply it to the affected areas and allow it to sit for 5 to 7 minutes. As with the previous steps, ensure you’re wearing protective gear, as haze removers can be harsh on the skin.
Haze removal can be a delicate process. The goal is to remove the haze without damaging the screen. It's often helpful to gently scrub the stained areas with a soft brush while the haze remover is working. This gentle agitation can help break down tougher stains. After the set time, rinse the screen thoroughly. It’s important to remove all traces of the haze remover to prevent any damage to the mesh or interference with future emulsion application.
Step 4: Degrease Your Screen
The final cleaning step involves the use of Chroma/Wet iSC degreaser. This step ensures that any lingering grease, dirt, or chemical residue is removed from the screen. Apply the degreaser with a brush, covering the entire screen including around the frame.
Degreasing is often an overlooked but critical step in screen preparation. Ensure the degreaser is applied evenly and allowed to sit for a few minutes to break down any oily residues. A thorough rinse is essential after degreasing. Any residual degreaser can cause issues with emulsion adhesion, leading to defects in your prints. Check the screen carefully for any signs of foam or residue before allowing it to dry.
How To Dry Your Screen for Screen Printing
After cleaning, drying your screen properly is crucial. The screen should be placed in a clean, dust-free environment to dry. Screens should be dried horizontally with the squeegee side up to prevent dust from settling in the mesh. Avoid using high heat to speed up the drying process as this can warp the screen or affect the tension of the mesh.
A fan can be used to circulate air and aid in drying, but direct air flow should not be used as it can introduce dust. Check the screen periodically as it dries. Once the screen is completely dry, it should be stored properly to avoid contamination or damage. Proper drying and storage will extend the life of your screen and ensure it is ready for your next printing session.
Contact Chromaline Today
Chromaline's line of premium screen printing emulsions and line of screen printing chemicals stands out as the top choice for screen printers seeking exceptional results. If you have any further questions about how to clean your screens or questions about any of our Chromaline screen printing products, please contact us today.